Table of Contents
Updated
Sometimes your system may display an error indicating the configuration email in Windows Server 2003. There can be several reasons for this problem.
I recently secured a domain and wanted us Build a mail server for a small network, but my preferred options were a little limited. I’ve definitely narrowed it down to three options.
- I can actually install Exchange on an existing Windows Web server (but not very convenient on a network with less than 30 feet of users).
- I could use Red Hat (but Linux systems that require an additional server). I could
- choose a third party SMTP / POP3 server technology (but it will cost more).
This left in my head a desire for Microsoft to provide a portion of the POP3 (and / or IMAP) mail server as their primary operating system – they’ve already integrated the extended SMTP service into Windows 2000. Of course, you can say that’s a good thing would go against the Exchange design. But why not offer a typical POP3 mail server without all of the opt-out features like contacts, calendar sharing, chat services, and more that comes with Exchange? This will bring tremendous benefits to enterprises and keep many of these people from switching to Linux and other third-party solutions.
When I downloadI had a beta version of a Windows 2003 server (WS2K3), my wish came true when I discovered that it included a simple POP3 server. Simplicity meets ease of use. I did extensive testing and it worked. So I posted this tutorial on how to set it up and get it working.
Install Windows Server 2003
First, I downloaded the “beta” version and burned it to a CD, then installed it on the appropriate server. The installation was very similar to Windows 2000. Of course, with WS2K3 officially released, you can now perform these steps on a complete product. The process is similar.
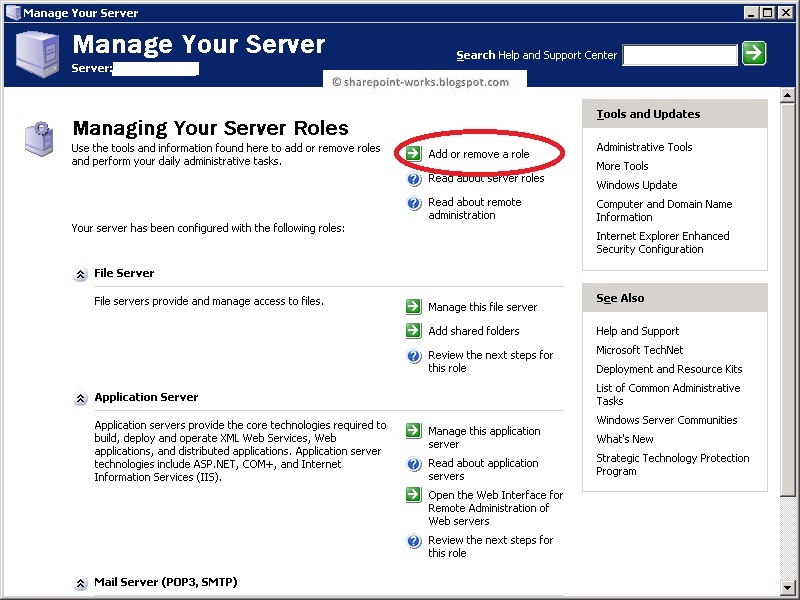
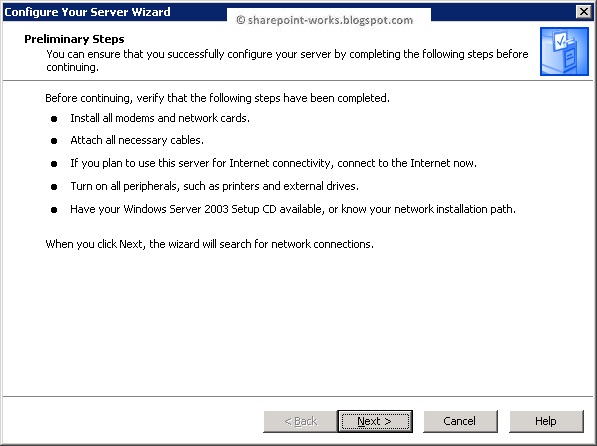
After completing the installation for a specific server, open Control Panel, select the Add / Remove Programs applet and click Add / Remove Windows Components. One of the new options available is the email service (see Figure A). Click a field to view it, then click Next. The project is up and running, and within minutes, the messaging component is installed and easy to configure.
Open the POP3 service.
After installing the component, go to Start | configure the programamma | Management Tools | POP3 service. POP3 services run as a snap-in as part of the MMC. As with any other MMC console, the window is split into two areas. The left area contains all configurable features, while the right area displays options and configuration options.
The first thing you need to do is deploy the POP3 host service at the top of the left pane and give yourself some name for the server on which you configured the basic POP3 service. At this point, you can add a domain and / or further customize the components of the current server. The server properties basically tell you what port can be used for the Mail option; The default value of 110 is displayed, of course, and the default location of certain mailboxes is also shown.
Right click on the server, then click New, then Domain. A window will open in which you will need to enter the domain name that you will use only for the desired mail services. After entering the name type and clicking OK, the room name will appear on the control panel as well as on the left control panel under most server names, as shown in Figure B.
Create Mailboxes
Now that you have configured a new domain for mailboxes, you will probably right-click that domain name in the remaining control panel and select New, then Mailbox Mailbox will open the window in which you can name your mailbox is your email address.
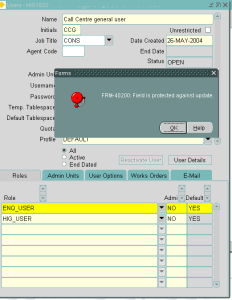
In my case, the name of this particular mailbox was “eli” and it just adds that username to @ yourdomain.com. You can also add this person to a Windows domain simply by checking the Create a linked user for this mailbox box, as shown in Figure C. Then enter the password and click OK.
DNS MX Record
Before you can start sending and receiving email on the Internet, you need to properly configure your domain’s DNS information so that it knows exactly how and where emails are sent. transmitted. To do this, change the DNS MX (Mail Exchanger) record. If you are in control of your current DNS, you can change this recommendation on your DNS server е. However, if you are a small business, all or all of the ISPs at your web hosting company probably keep the DNS records of their websites.
You need to go to the appropriate section and ask them to change the MX record. You must provide them with a public IP address and / or fully qualified domain name (for example, mail.yourdomain.com) for all servers configured in conjunction with the mail services component.
What about SMTP?
This is definitely the cutest part of the whole contract. SMTP, the email sending service, is constantly configured using the name of your web address when you add it to POP3 services. To check this, you can click on | … click Start Programs | Management Tools | Internet Information Services (IIS Manager) and physical site navigation until you become a standard SMTP virtual server. Expand it and click Domains. If you have the correct checkbox checked, you will see a list of all the domains you have created.
Updated
Are you tired of your computer running slow? Annoyed by frustrating error messages? ASR Pro is the solution for you! Our recommended tool will quickly diagnose and repair Windows issues while dramatically increasing system performance. So don't wait any longer, download ASR Pro today!

Client Configuration
Configure your email program (such as Outlook Express) with the information requiredIdentity for accessing this approach server. The SMTP server name and this is the POP3 server name: the fully qualified domain name of the server that the user configured in your MX record. The username is the ID of the mailbox (for example, [email protected]), and the password is the password for most people that was assigned to the mailbox when it was created. You can now send and receive emails with your own domain name through your own server.
Finally,
server. I was able to set up my mail server if you have no problem and I was able to easily configure this tool to host multiple domain names. Now I no longer need to install Linux on other devices or buy third-party mail server software to run it on Windows. For small businesses looking to use their own simple mail server, I naturally recommend Windows Server 2003.
| Figure A |
| Figure B |
| Figure C |
Speed up your computer today with this simple download.
E-Mail In Windows Server 2003 Einrichten
Imposta Posta Elettronica In Windows Server 2003
Windows Server 2003에서 이메일 설정
Configurar E-mail No Windows Server 2003
Configurer La Messagerie électronique Dans Windows Server 2003
Konfigurera E -post I Windows Server 2003
E-mail Instellen In Windows Server 2003
Настройка электронной почты в Windows Server 2003
Configurar Correo Electrónico En Windows Server 2003
Konfiguracja Poczty E-mail W Systemie Windows Server 2003