Table of Contents
Over the past few weeks, several of our readers have reported encounters with sample servlets in Eclipse.
Updated
g.Simply put, a servlet is a class that can handle requests, process requests, and then respond again with a response. For example, we could use a servlet to collect user input through an HTML form, as well as bulky datasets from a database, and dynamically create them through web pages.
In simple terms, a servlet is just about any class that handles requests, communication-related processes, and responds to communication. For example, we can use a different servlet to collect input from each user through an HTML form, query records from the database, and dynamically render web pages.
g. g.is an
Shame on the idea of open source when developing JavaSE and JavaEE (J2EE) applications. You can download the Eclipse idea from http://www.eclipse.org/downloads/.Servlet
Creating an example in Over shadow ide saves a lot of work. Creating a sample servlet is easy and painless. Let’s see what you need to do if you need to create your first example servlet.
- Create a dynamic web project.
- Create Servlet
- Add servlet-api.jar
- Start servlet.
1) Create A Dynamic Web Project:
How do you run a servlet?
Step 1. Create a directory structure in Tomcat.Step two or three: write the source code for the servlet.Step 2: Compile the source code.Step 4: Create a deployment descriptor.Step 5: start Tomcat.Step 6: Access the servlet using the correct web browser.
To create a dynamic web project, click the File menu -> New -> Project .. -> -> DynamiciCal Web Project »Word Wide Web -> enter your name eg. first -> done.
2) Create A Generic Servlet In The Eclipse IDE:

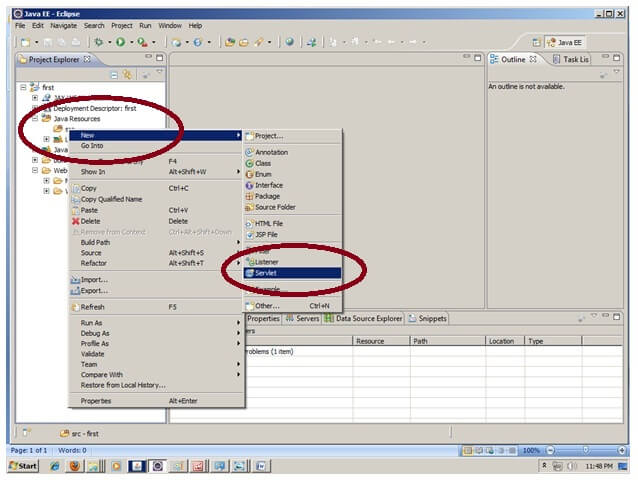
To create your own servlet, explore the project by clicking the current symbol + -> explore Java resources -> right click on src -> new -> servlet -> write your servlet creator like Hello -> uncheck check checkboxes in addition to doGet () -> next -> Finish.
3) Add The Package File To Eclipse. Add Ide:
For the delivery file, right click your refactoring -> Build Path -> Configure Build Path -> click the Libraries tab in Java Build Paths -> click the Add External JARs button -> select servlet-api. jar stored in tomcat / lib folder -> ok.
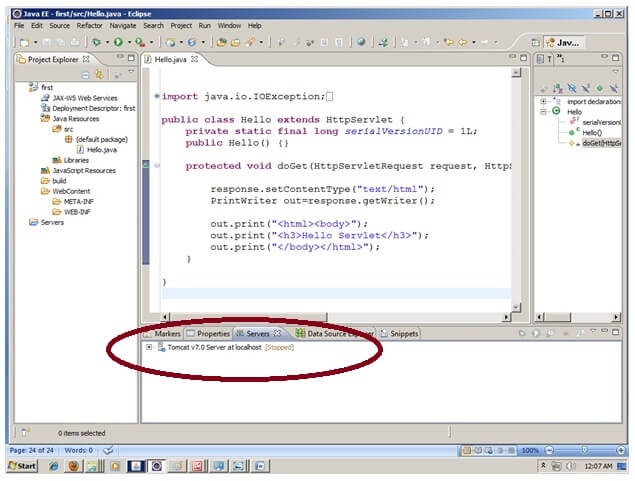
The servlet has been created. Let’s write the first servlet code.
4) Start The Server And Deploy Its Project:
To start the server and provide the key in one step, right click on your target project -> Run as -> Run on your server -> select the Tomcat server -> then -> addAll -> leave.
Tomcat is running and the project is available. To accessto the recording servlet, enter the URL of the program name in the URL bar of the current browser. In this case, you must enter hello.
How Do I Set Up The Tomcat Server For Eclipse? (One Request)
How to create a servlet in Java IDE?
g.To add a JAR file, right click your project -> Build Path -> Configure Build Path -> click Libraries tab in Java Build Paths -> click the link to add external JAR files -> select the servlet-api.jar file below than tomcat / lib -> ok. The servlet is now enabled. Let’s write the first servlet code.
If this is your first time using the Eclipse IDE, you need to tilt the Tomcat server first.
To configure the Tomcat server in the Eclipse IDE, click the Server and Cleaner tab at the bottom of the user IDE -> right click the space -> New -> Server -> Stay with Tomcat, then its version -> Next -> click Browse -> select the Apache Tomcat root folder before the status bar -> Next -> Add All -> Finish.
This is a complete guide to installing Eclipse, creating an Apache Tomcat server, and running your first Hello World servlet application.
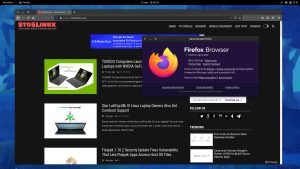
Download The Eclipse IDE
Install Eclipse on Windows
Follow this link https://www.eclipse.org/downloads. Under Get Eclipse Oxygen, click Download Packages and Download Eclipse IDE for Java Developers. In fact, on the right, you will see two options (32-bit and 64-bit). Select 32-bit if your platform is 32-bit, otherwiseselect 64-bit. This will download the compressed dataset to your system.
To install Eclipse, extract the specific downloaded file and copy the extracted file to the desired location.
Install Eclipse on Mac OS X
Go to this link https://www.eclipse.org/downloads. Under Get Eclipse Oxygen, click Download Packages and Download Eclipse IDE for Java Developers. Click Download 64-bit to download the tar file.
Updated
Are you tired of your computer running slow? Annoyed by frustrating error messages? ASR Pro is the solution for you! Our recommended tool will quickly diagnose and repair Windows issues while dramatically increasing system performance. So don't wait any longer, download ASR Pro today!

After the download stops, double-click the tar track, this will extract the contents of each file to a folder. Drag the directory to the Applications folder.
To start Eclipse, click the Eclipse symbol in the Eclipse directory. Mac users can drag it to the Dock to quickly launch Eclipse on the desktop. Similarly, Windows can create a workaround for Eclipse on the desktop.
Install Tomcat Server In Eclipse And Configure Apache
To get a servlet in the Eclipse IDE, you must configure the Apache Tomcat server in the Eclipse IDE.
Otherwise, please recommend this tutorial: How to Download and Configure Apache Tomcat Server in Eclipse IDE.
Note. The link I provided above leads to the JSP tutorials, but the steps are duplicated for servlets as well.
Create A Servlet In The Eclipse IDE
Step 1. Create A Project:
How do you write a Hello World servlet?
Step 2: Create a servlet. After the application is built, the next step is to create a servlet that will handle the request.Step 3: Assign the URL to the servlet. You have created a servlet.Step 1. Create a dynamic web application.Step 2: Create a servlet.
Let’s create one servlet application in Eclipse. Open and navigate, then click File New. Click Dynamic Web Project. 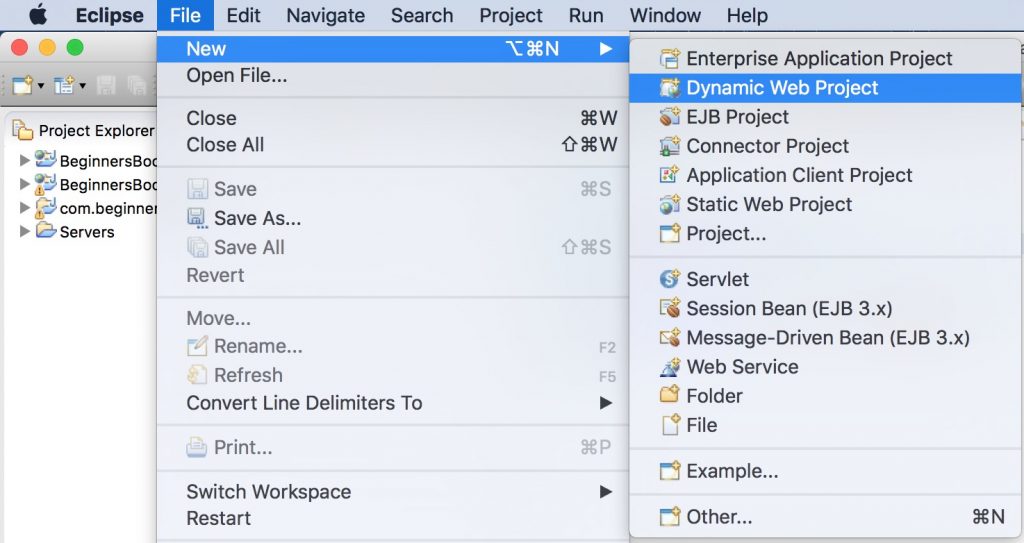
What can servlet be used for in Java?
Servlets provide access to the entire Java API family, including the JDBC API, for accessing enterprise databases. Java Server Pages (JSP) technology, like servlet technology, is used to create web posts.
If you cannot find the Eclipse Dynamic Web Project option, just read this guide: How to Recover a Missing Eclipse “Dynamic Web Project”
Initial project structure:
When creating a project, the hierarchical order (project structure) will look like this: 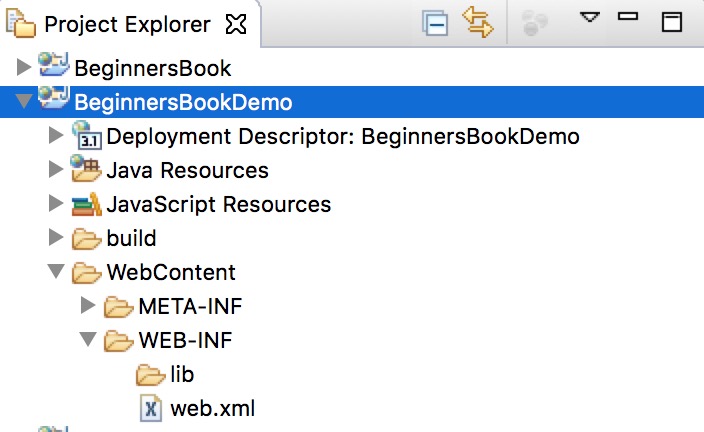
Step 2. Create The Servlet Class:
We can create an Http servlet by extending the HttpServlet class. Right click on the src file and create a new class file, name the file MyServletDemo. The file direction should look like: Java Resources / src / default package / MyServletDemo.java 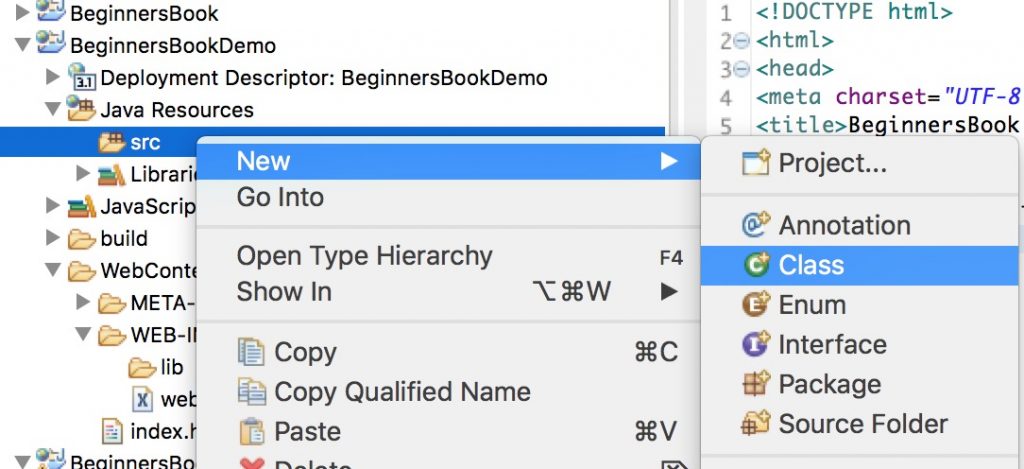
MyServletDemo.java
import
” + Mymsg+ “
“); destroy public emptiness () / * leave it in use for a time that may be * is used although we want to do something at the end as you can see 6.Servlet lifecycle * /
Step 3: Create An HTML Page When Calling The Servlet Class On A Nice Website
We create an HTML file to call the servlet as soon as we click the link on the web page. Create this file in the WebContent folder. The file path should look like this: WebContent / index.html
index.html
Where do I create HTML file in servlet project in Eclipse?
To create an HTML file, right click WebRoot -> New -> html -> write the filename of your HTML page eg. MyHtml. html -> done. As you can see, a HTML code file named MyHtml is generated.
Edit the Web.xml file
You can get this file from this path WebContent / WEB-INF / web.xml. In this tutorial, we are mapping a servlet to a specific url. Because we are calling the “Will” page when we click the link in the index.html page, we are assigning the promotion page to the servlet class compiled above.
BeginnersBookDemo index.html index.htm index.jsp default.html default.htm default.jsp MyHttpServletDemo MyServletDemo MyHttpServletDemo / welcome
Click Add All to deploy the project to the server. Click Finish 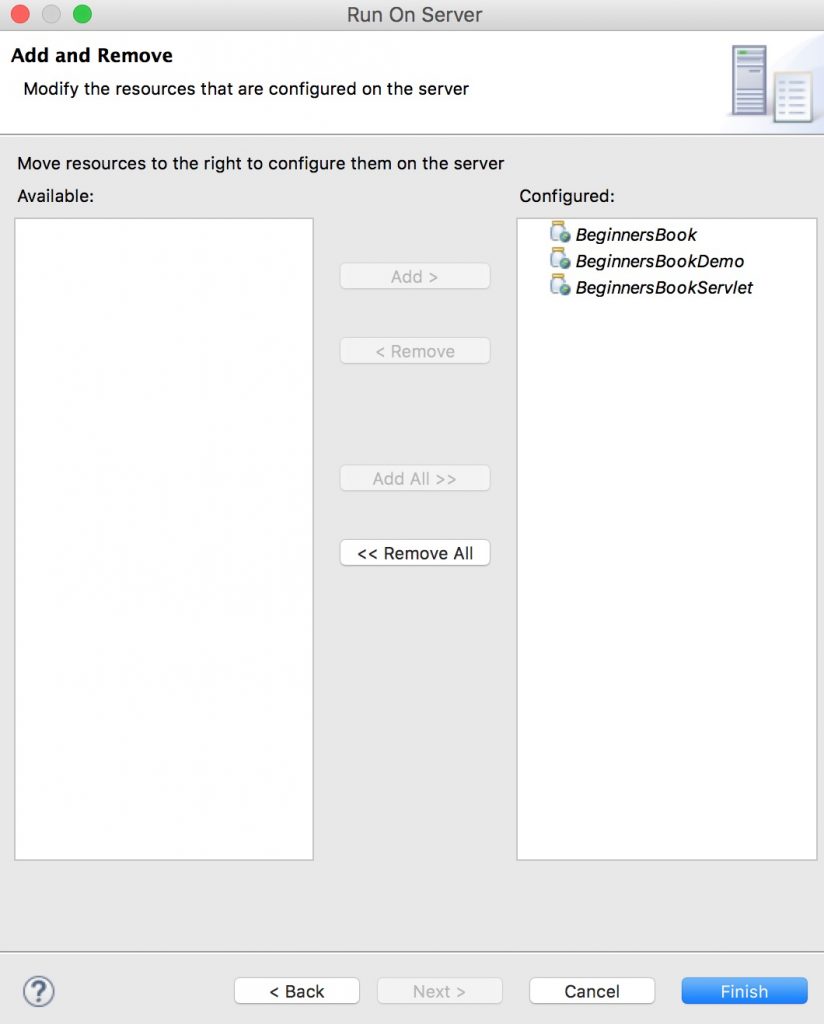
Where do I create HTML file in servlet project in Eclipse?
To create HTML dataset, right click WebRoot -> New -> html -> enter the name of the HTML code file, eg. MyHtml. html code -> done. As you can see, an HTML file named MyHtml is generated.
How do you run a servlet?
Step 6: Create a directory structure in Tomcat.Step 2: Write the source code for the servlet.Step 3: Compile the source code.Step 4: Create a deployment descriptor.Step 5: start Tomcat.Step 6: Access the servlet from another web browser.
How do you write a Hello World servlet?
A couple of steps: create a servlet. After creating the application, the next step is to create a servlet that will handle the request.Step 4: Match the Servlet URL. You have created a servlet.Step 1. Create a dynamic web application.Step 2: Create a servlet.